Changing default Installation Path for TagMatiks AT Lite
Summary
This Article walks you through performing a clean installation of TagMatiks AT Lite, with a special focus on configuring the software to install in a custom directory such as D:\TagMatiks. By following these steps, you’ll ensure that the application is properly set up in your preferred location, making it easier to manage files,and system organization.
Prerequisites
Administrator Access: Ensure you have permissions to install software on this PC.
Installer File: TagMatiks Asset Tracking Lite_V…_Production.msi (found in your Downloads).
Step-by-Step Installation Instructions
1. Initiate the Setup Wizard
Open your File Explorer and navigate to your TagMatiks download folder. Double-click the installer icon.
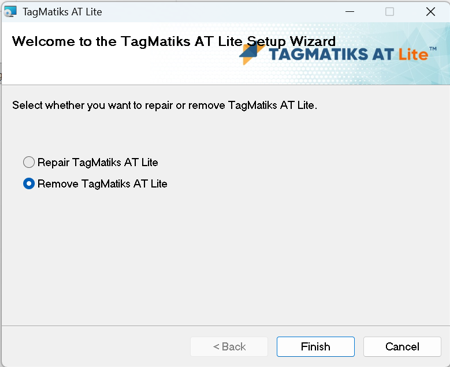
Note: If the software is already installed, the wizard may ask if you want to "Repair" or "Remove." Choose Remove first if you want to change the installation path, then restart this process as shown in the Fig 0.1
Fig 0.1
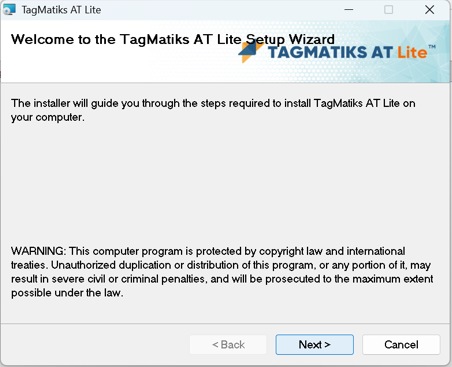
2. The Welcome Screen
You will see the "Welcome to the TagMatiks AT Lite Setup Wizard." as shown in the Fig 0.2
Action: Review the copyright warning and click Next >
Fig 0.2
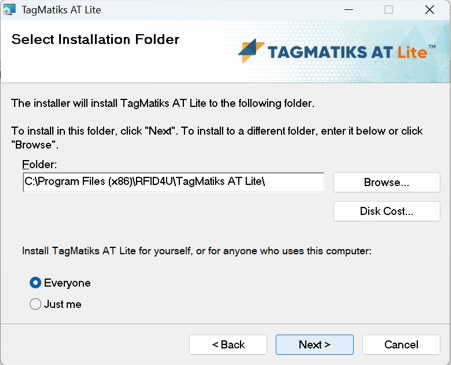
3. Customizing the Installation Path (Crucial Step)
By default, Windows wants to put this in your C:\ drive. To change this:
Action: Click the Browse... button as shown in the Fig 0.3
Path Selection: Navigate to your D: drive and select or create the folder “TagMatiks”
User Permissions: Select the "Everyone" radio button. This ensures that any user profile on this computer can launch this tracking software.
Action: Click Next >
Fig 0.3
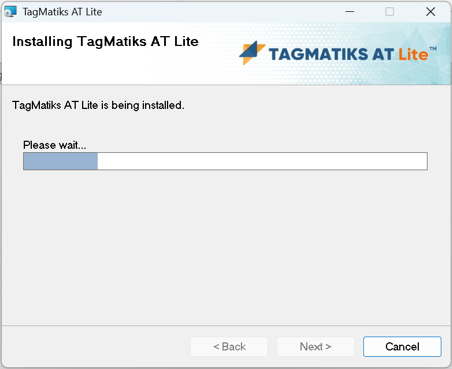
4. Confirm & Execute
The installer is now staged and ready as shown in the Fig 0.4
Action: Click Next > to begin the file transfer.
Observation: A "Please wait..." progress bar will appear. Do not Close or Cancel the window during this time.
Fig 0.4
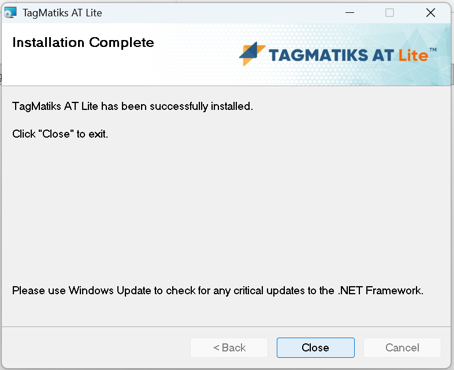
5. Finalizing the Setup
Once the bar is full, you will see the "Installation Complete" message as shown in the Fig 0.5