TagMatiks AT Lite - Windows Help
Installing TagMatiks AT Lite
Summary:
This article covers the basic installation of TagMatiks Asset Tracking Lite Software. Please follow company policy when installing new software onto your computer. The provided instructions are only for a single computer installation. Extract the Installation File from the downloaded compressed file.
Windows System Requirements (Minimum)
- OS - Windows 8
- .Net Framework - 4.5
- Processor speed: 2.5 GHz
- Random access memory (RAM): 4 GB
- Hard disk capacity: 256 GB
Step 1:
Download from the installation file via the given link by your TagMatiks representative.
Step 2:
The Installation Package file is a zipped/compressed folder and the installation file must be extracted to a new Location before running.

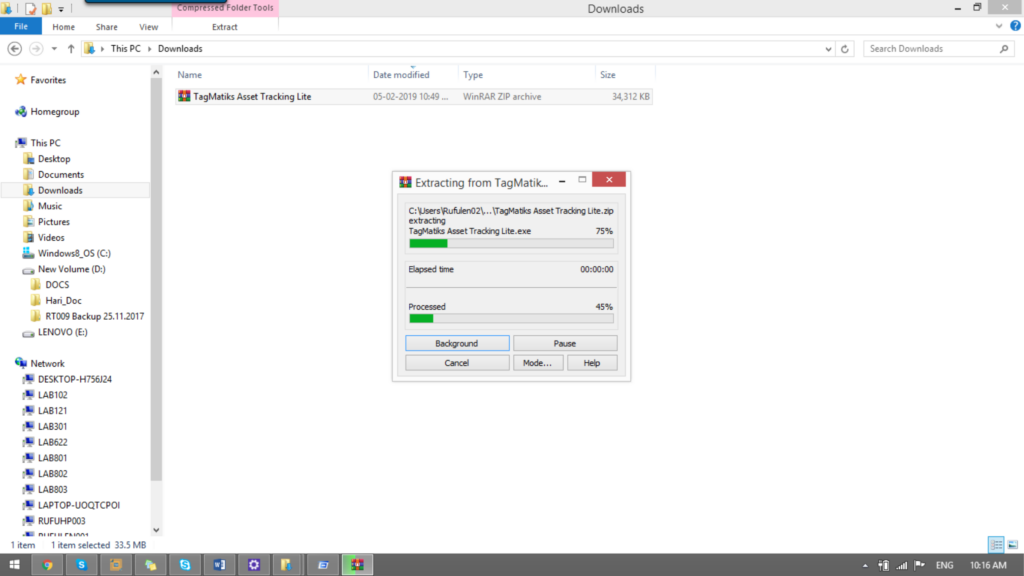
Step 3:
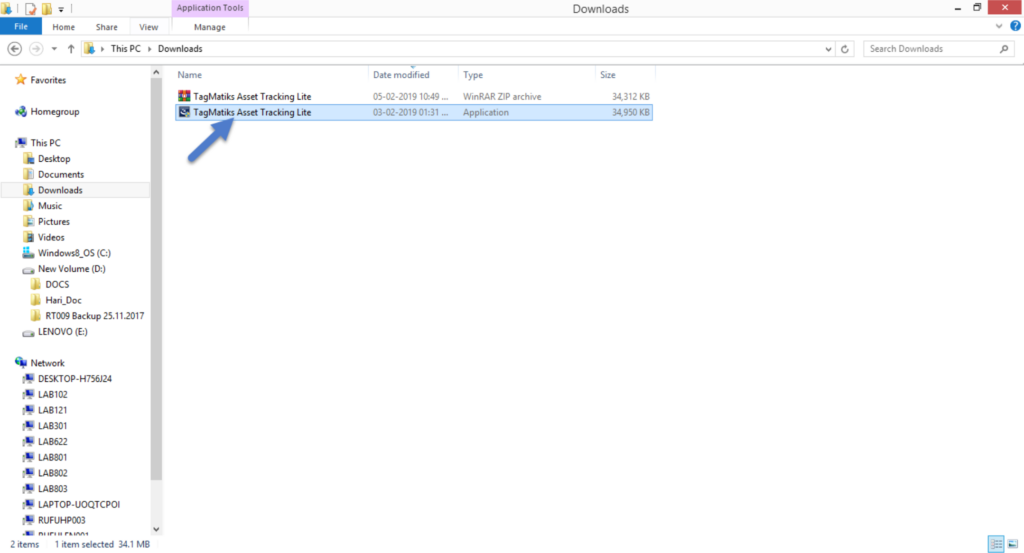
After Extraction – Click on the Installation File – Double click the Exe file and it will start to Install TagMatiks Asset Tracking Lite Setup.
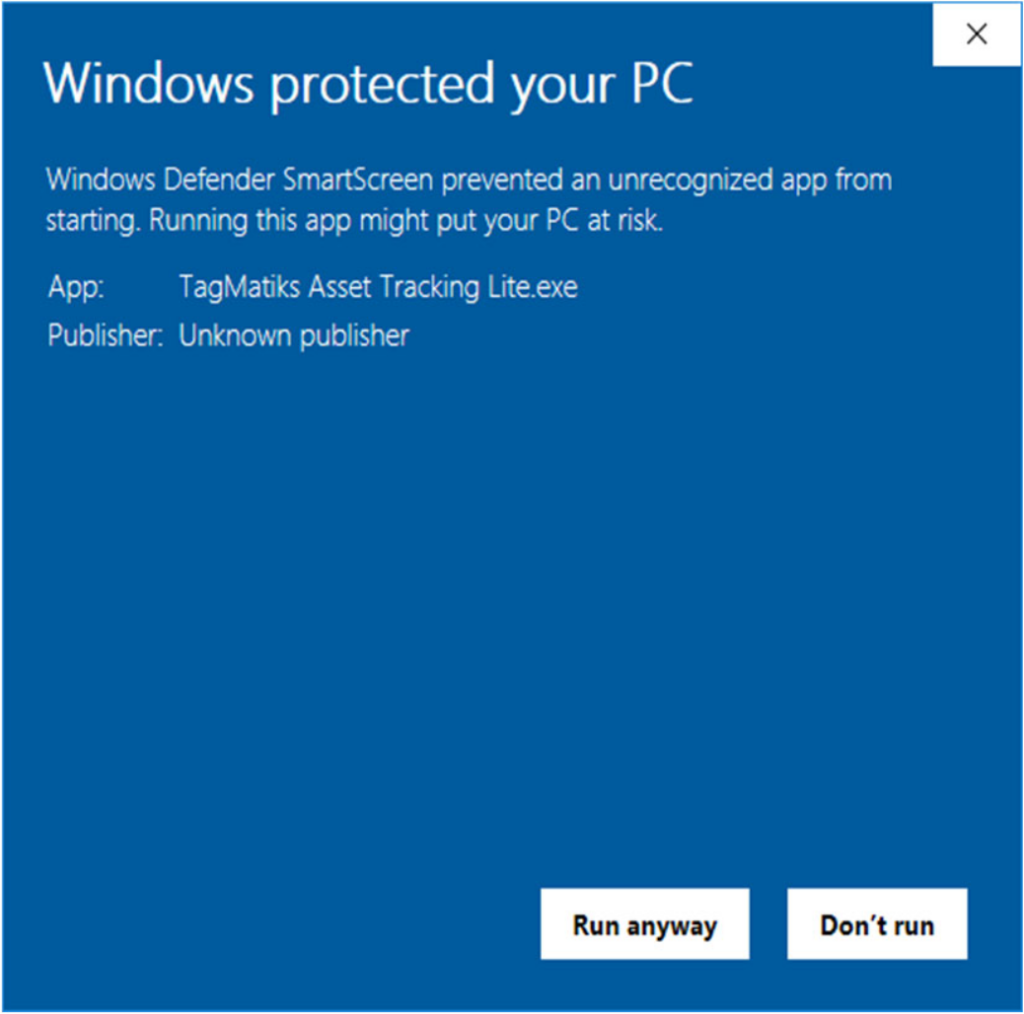
Windows® 10 will require you to acknowledge this action via the User Account Control prompt. To proceed, click on Yes.
Step 4:
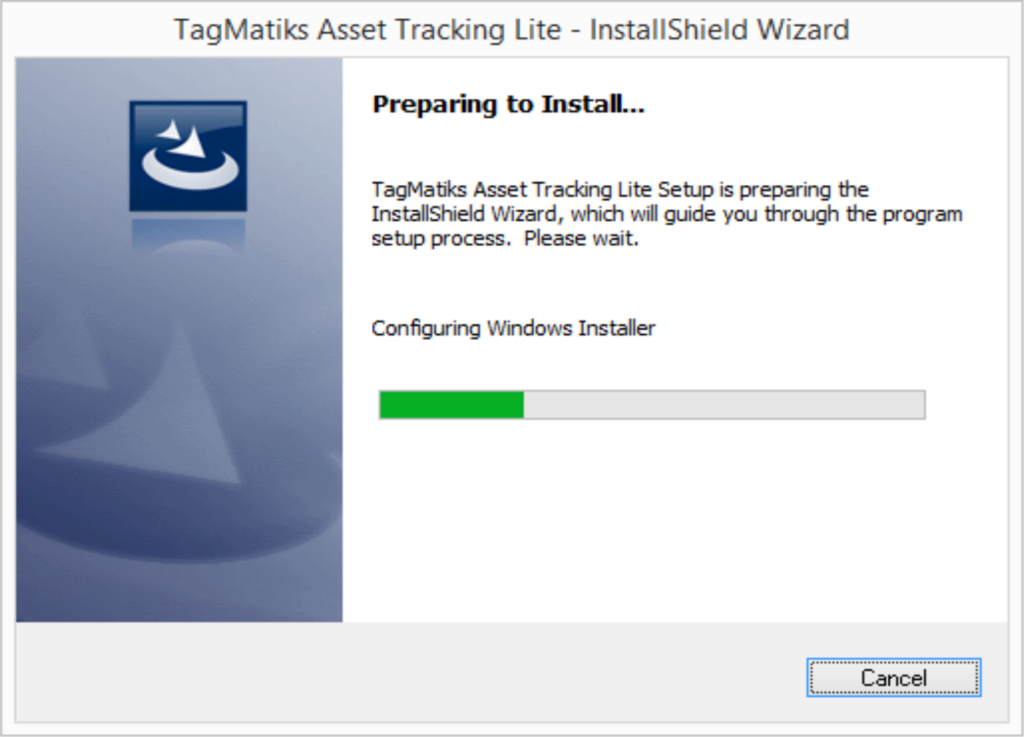
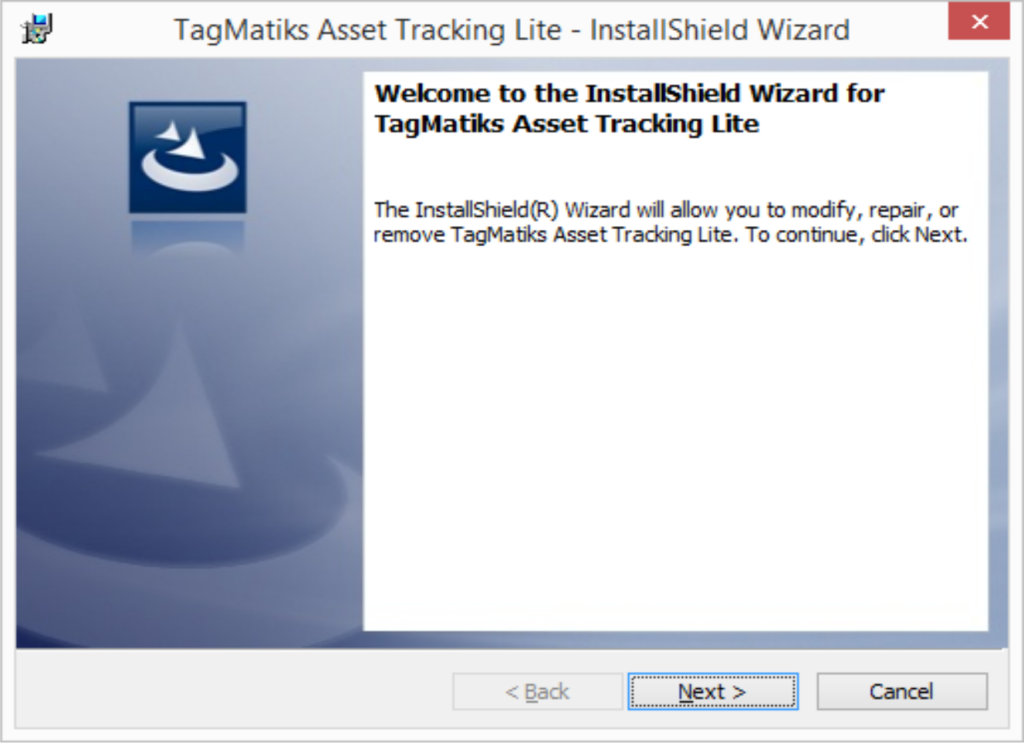
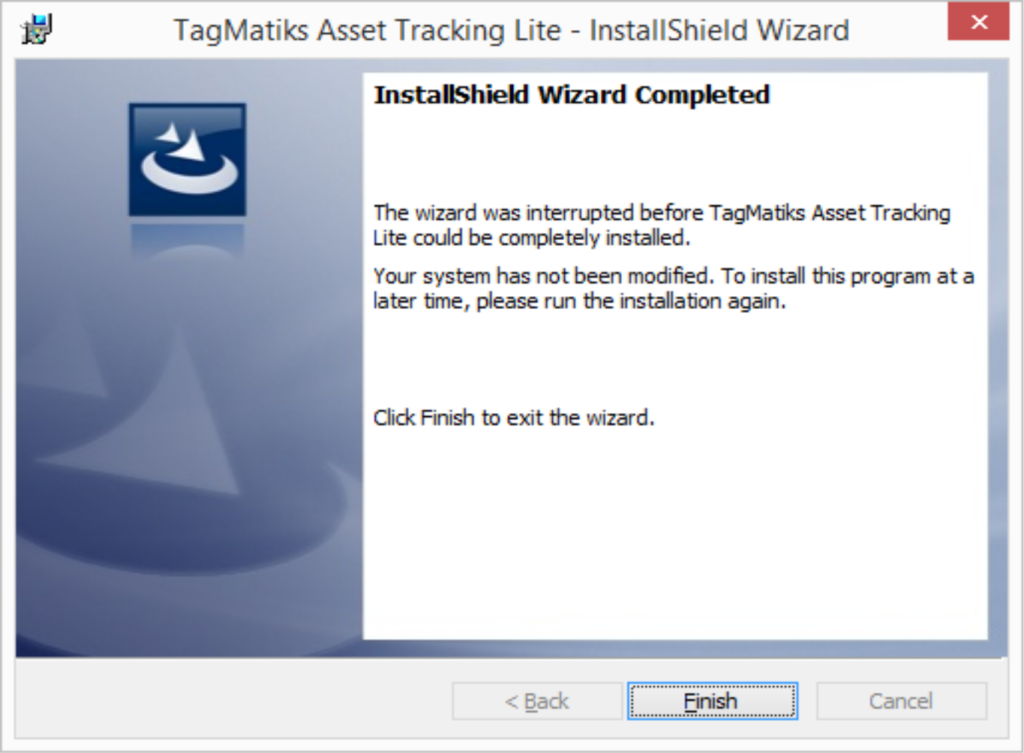
Follow the Installation Wizard prompts as TagMatiks Asset Tracking Lite is installed. To initiate the installation, click on Next. Review the Current Settings and click on Install. This process can take a couple of minutes to complete, be patient. Acknowledge the completion by clicking on Finish.
Step 5:
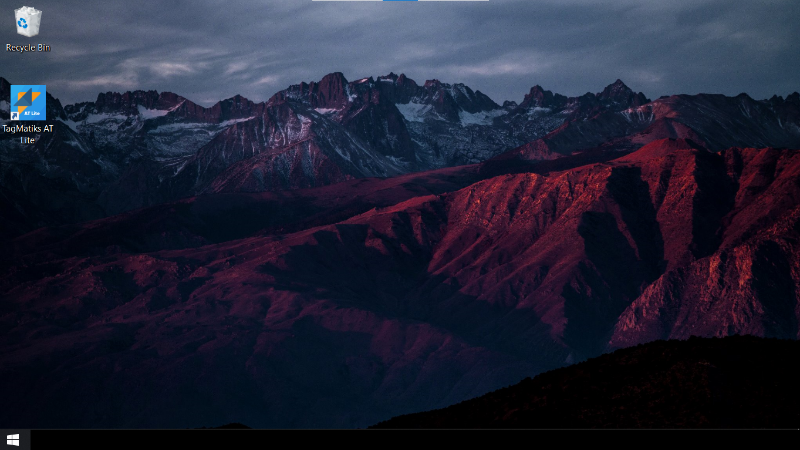
Follow the Installation Wizard prompts as TagMatiks Asset Tracking Lite is installed. To initiate the open TagMatiks Asset Tracking Lite by finding the shortcut placed on the desktop and double-clicking its installation, click on Next. Review the Current Settings and click on Install. This process can take a couple of minutes to complete, be patient. Acknowledge the completion by clicking on Finish.
Note:
If the desktop shortcut gets deleted, the application’s location is in C:\Program Files (x86)\RFID4U\TagMatiks Asset Tracking Lite.
Share
- Installing TagMatiks AT Lite From the Apple App Store