RFID Sensor Tags are RFID tags with built in sensors for data collection including options for temperature, humidity, moisture, impact, tamper and more. The tags can be passive, semi-passive or active.
This article covers the various steps that are involved in transaction and reporting of temperature logger with the TagMatiks AT Lite Application in Windows.
This article divided into multiple sections
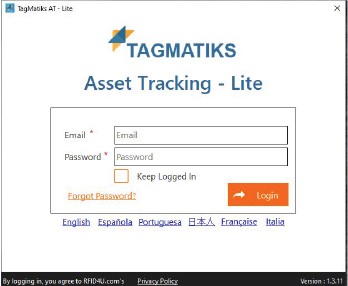
1. Open the TagMatiks AT Lite application and login into it.
2. Click on the “Inventory” button as shown in image below.
3. On this page, you’ll see the count status of expected and missing assets for all locations, click on the “Select Location” button from the top right side of application as shown in image below.
4. Select the required location for Inventory.
5. You have a variety of options in terms of how you can scan. Depending on the device you’re using, you can either press the trigger/button on the device or press the start scan button.
6. After selecting the location, the expected and missing asset count will populate for selected location as highlighted in image below.
7. As you start scanning assets, the count status of matched, misplaced and missing assets will start to update. Click on view button on bottom right-hand side of application in sensor tag field.
8. A new sensor list window will open, click on “Stop All Loggers” to stop the logger.
9. A pop up will open to ask you that “Are you sure you want to stop the logger” Click on yes if you want to proceed.
10. After clicking on “Stop All Logger”, the application will show “Please Wait… Stopping the logger”.
11. In the comment you can see the comment “Stopped”. Click on “Save All Logs” to save the logger data.
12. After clicking on “Save All Logs” a popup will appear stating “Please wait… Downloading the data…”.
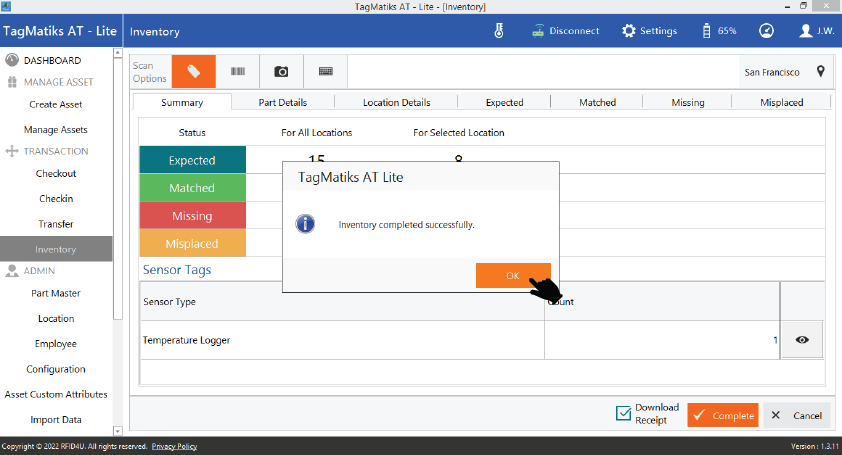
13. Click on the “Complete” button to complete the inventory.
14. A popup will appear stating that “Are you sure you want to complete current inventory?” Click on Yes to proceed.
15. A new popup will appear stating that “Inventory completed successfully”. Click on the “OK” button to close the popup
16. Click on the “REPORTS” from the bottom left-hand side of the application.
17. A “REPORTS” page will open with the list of reports
18. Click on the “Sensor Report” button.
19. After clicking on the Sensor report button, a sensor report page will open, click on the “Generate Report” to generate the report.
20. You will see the report data, you can view the report by clicking on view button from the right-hand side of the application
21. Click on the “Export Data” button as shown in the image below.
22. A folder will open to save the report file with automatically generated file name.
23. Click on the “Save” button to save the report file.
24. You can view your saved report generated.