The article explains how to upgrade the firmware of the Zebra RFD8500/RFD40/RFD90 UHF RFID Handheld Sled Reader.
Zebra has an Application to upgrade the firmware called Zebra 123 RFID. 123RFID will automatically detect your devices and guide you through programming from start to finish
A Windows PC with the following minimum specs
Download the Zebra123 RFID software from the Zebra website
1. Based on your system requirements, please download 32 Bit or 64 Bit software from the following link:
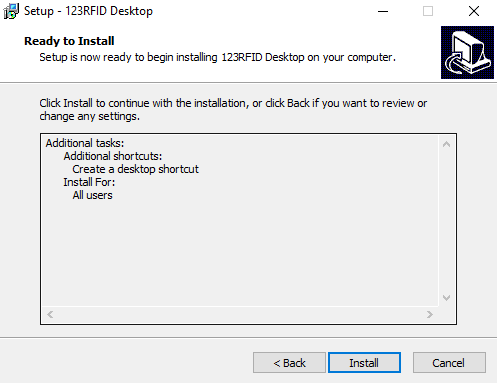
3. Once downloaded, double click the Zebra_123RFID_Desktop_(64bit)_v3.0.0.9 File and the installation process window will pop up, as shown in below image.
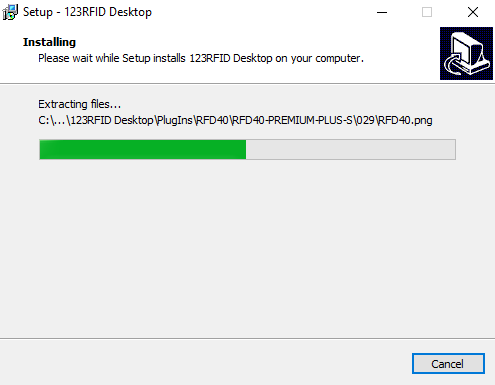
4. Click "Install" to initiate the installation process figure 02: Zebra 123RFID Installation process initiated
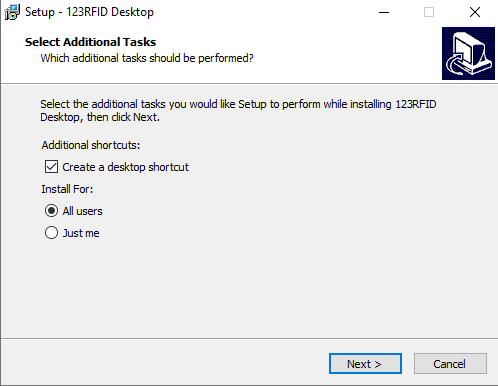
5. Click "Next" to continue installing.
6. Click "Yes" to finish the installation process, then click the "Finish" button, and a shortcut to the application will appear on your desktop
7. Connecting your RFD40 to the Software and Updating the Firmware
8. Click the desktop shortcut icon and a loading screen will appear
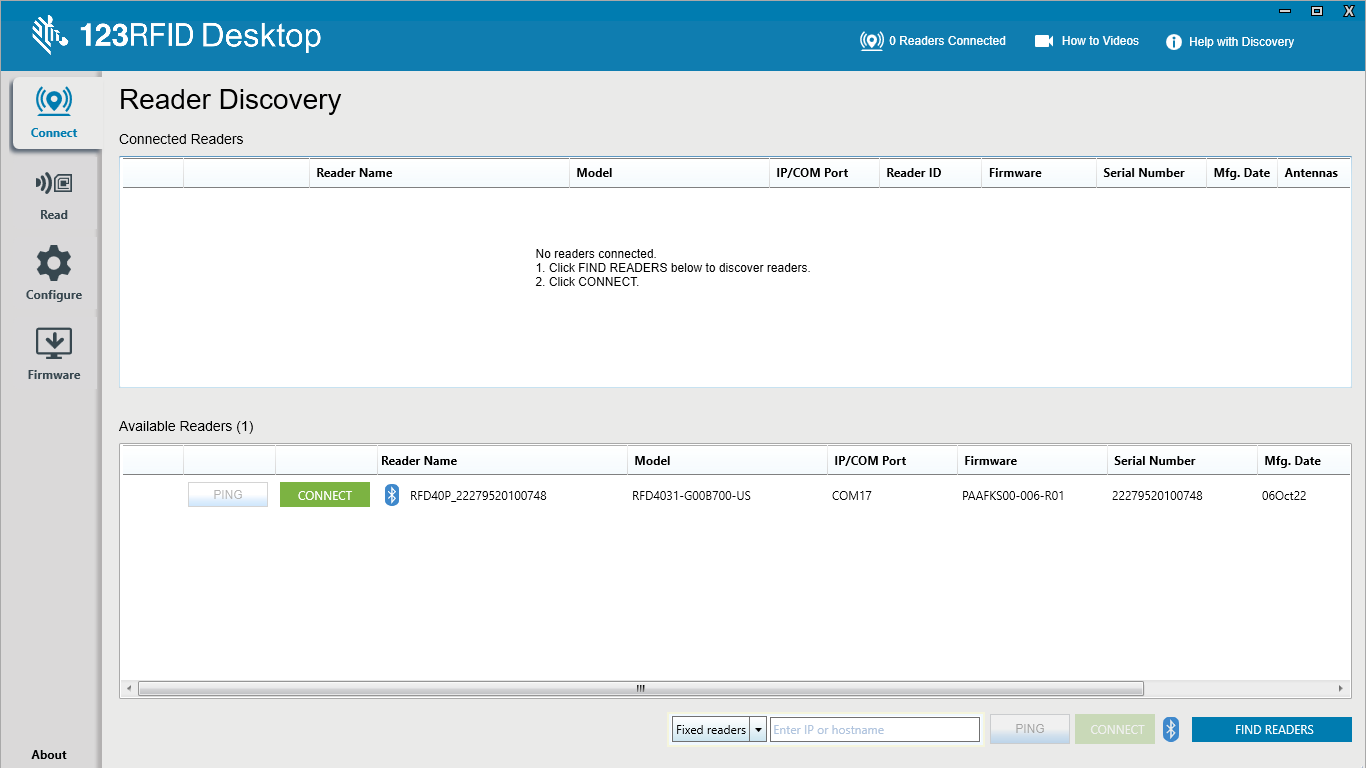
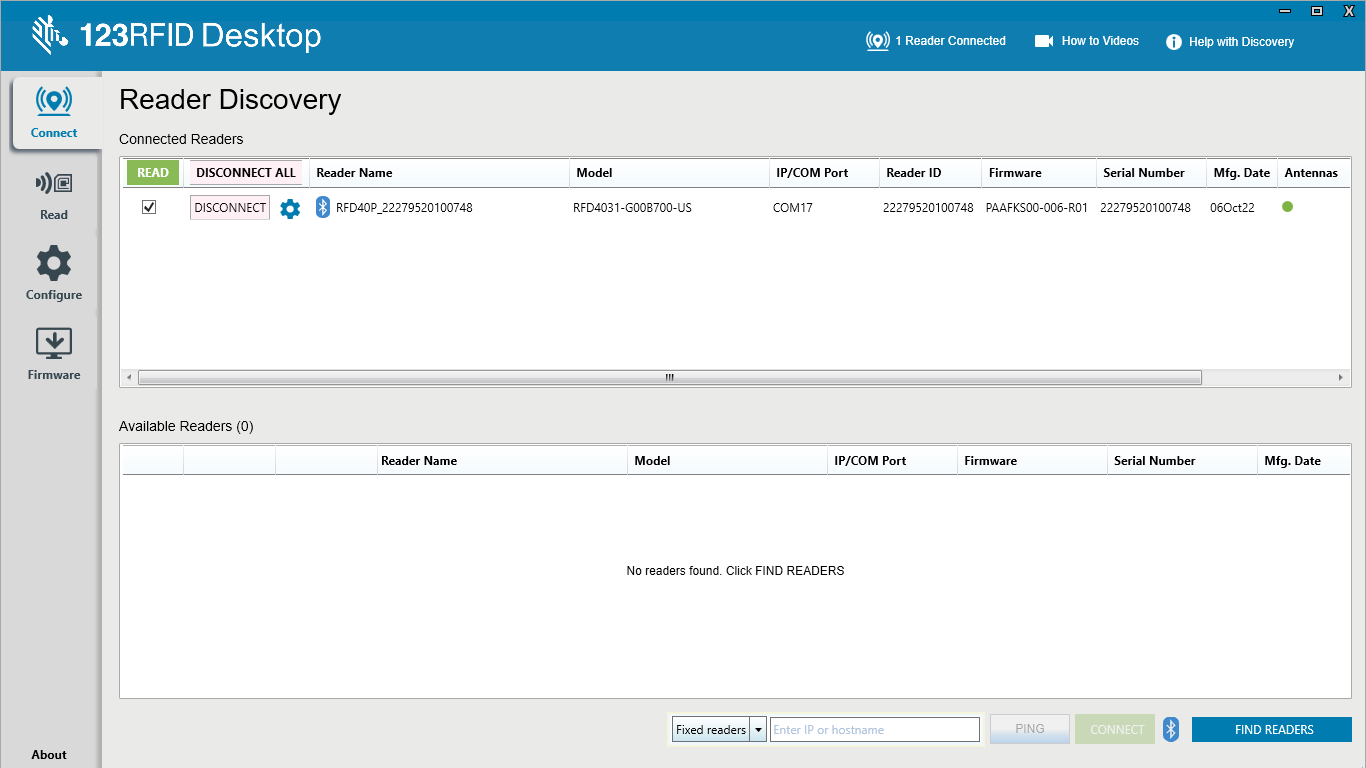
9. Make sure your Zebra RFD40 is connected to the device you are using the software on. Once the software is loaded, it will automatically pick up the connected device, as shown below in Figure 05.
10. From the above screen, click on “CONNECT”
11. The device selection screen will pop up, as shown in the image below. Select your RFD40 and click "FIRMWARE"
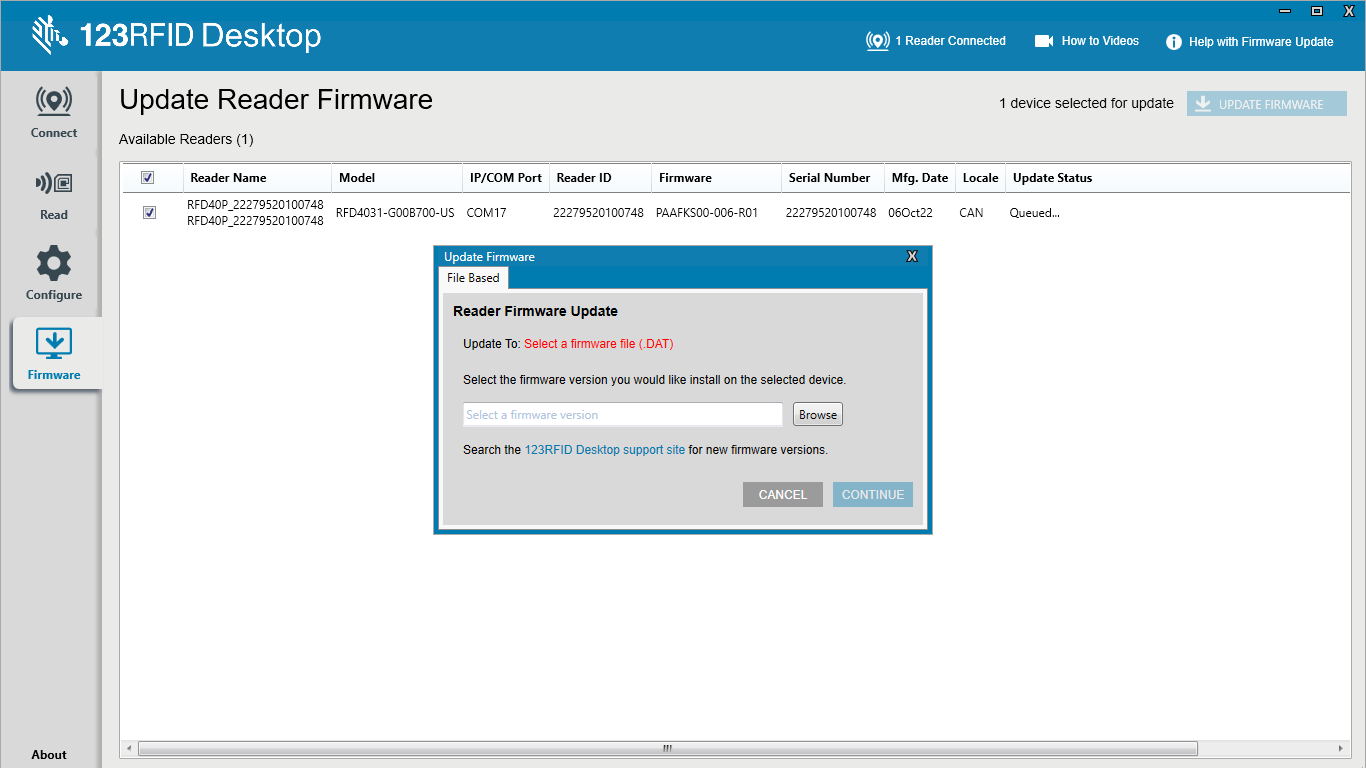
12. On the screen shown below, Click on Browse button
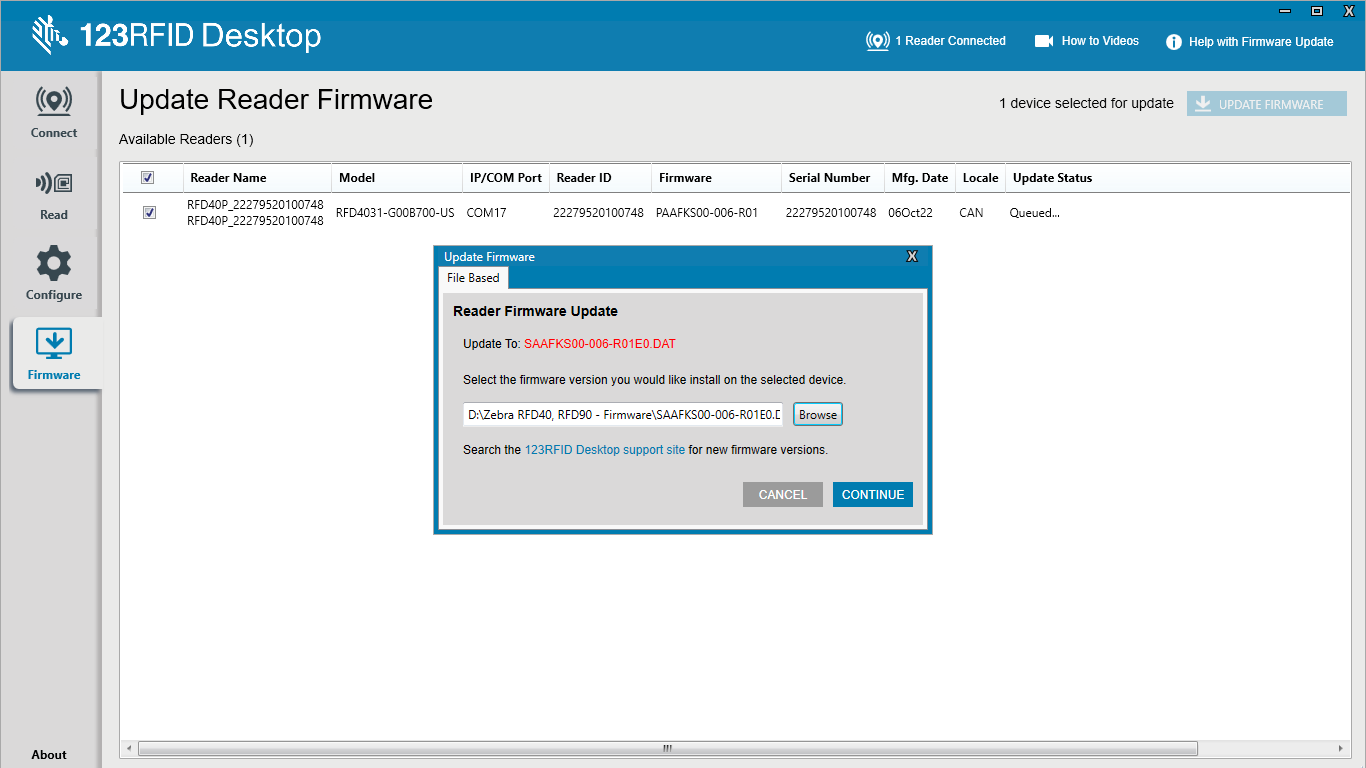
13. Browse the DAT file from your Desktop
14. Click on “CONTINUE”
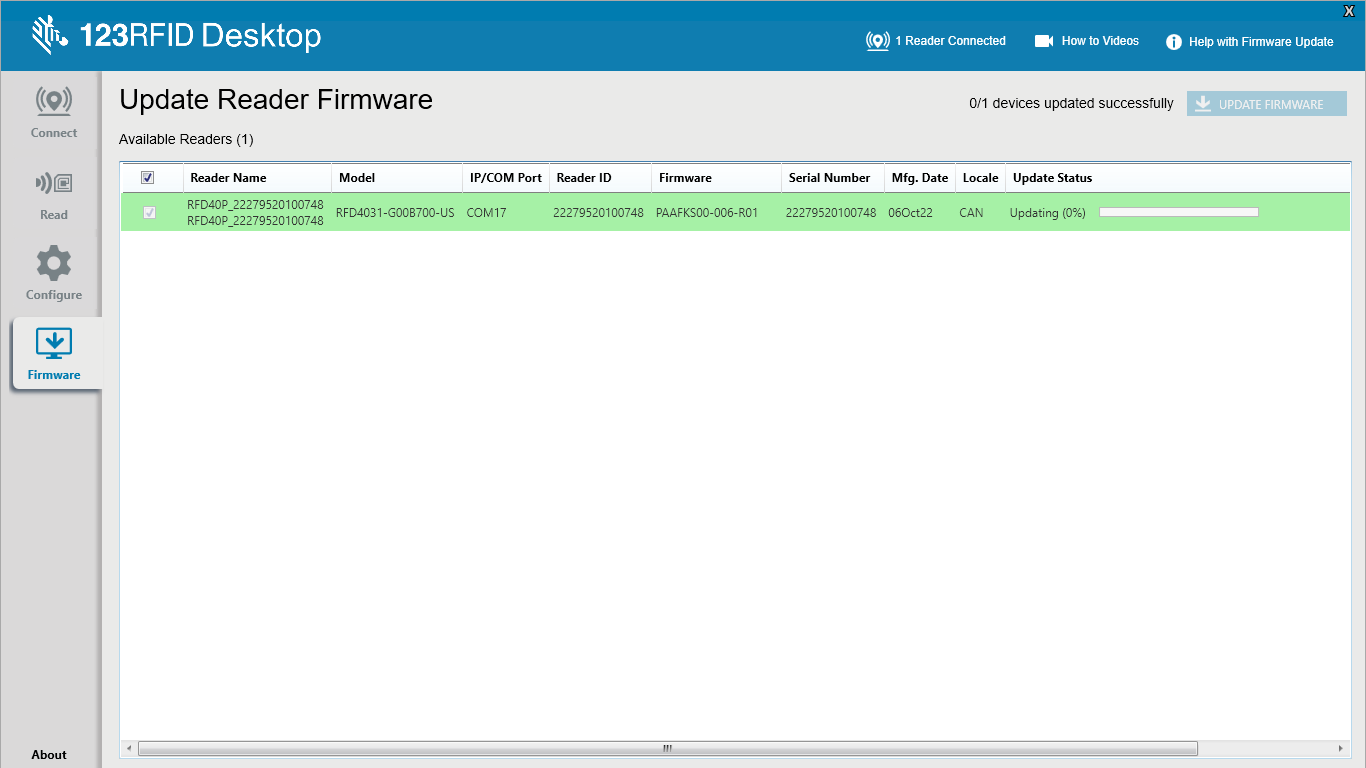
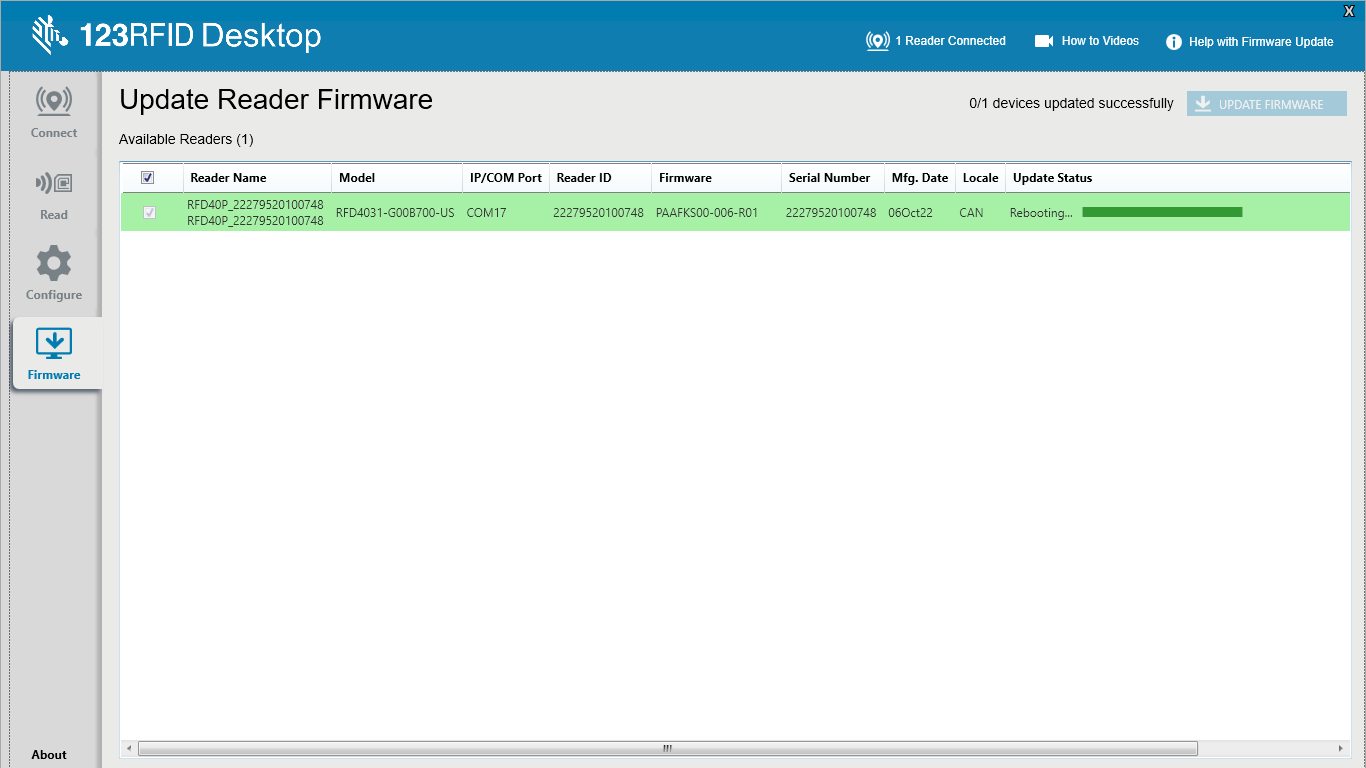
15. Update Status will show Uploading
16. After Completing the uploading Update Status will become Rebooting
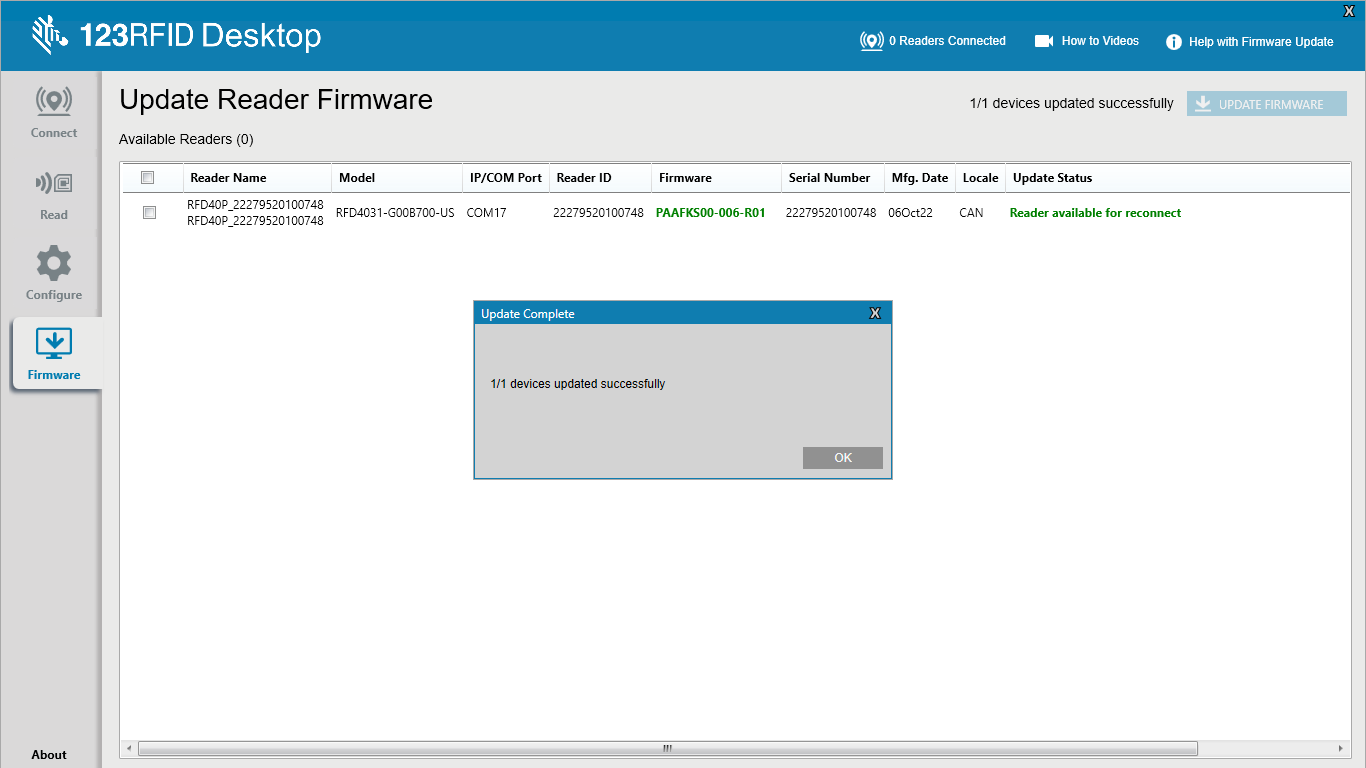
17. A Popup will come stating that “device updated successfully”