Once you have an understanding of the reports available, it’s important to be able to understand how to interact with them. We’ll cover how to generate, filter and export the available reports in TagMatiks AT Lite.
In order to view and report on meaningful data with TagMatiks AT Lite, you must start using the solution and start populating data. For example, for the Inventory Report, you must complete an inventory transaction before data will populate.
To filter a report, select the report from the list. On the report page, you will see various options to filter the report. For example, you may filter the assets down to a specific location and only report on those. You can also reset the report filters by clicking on the Reset button.
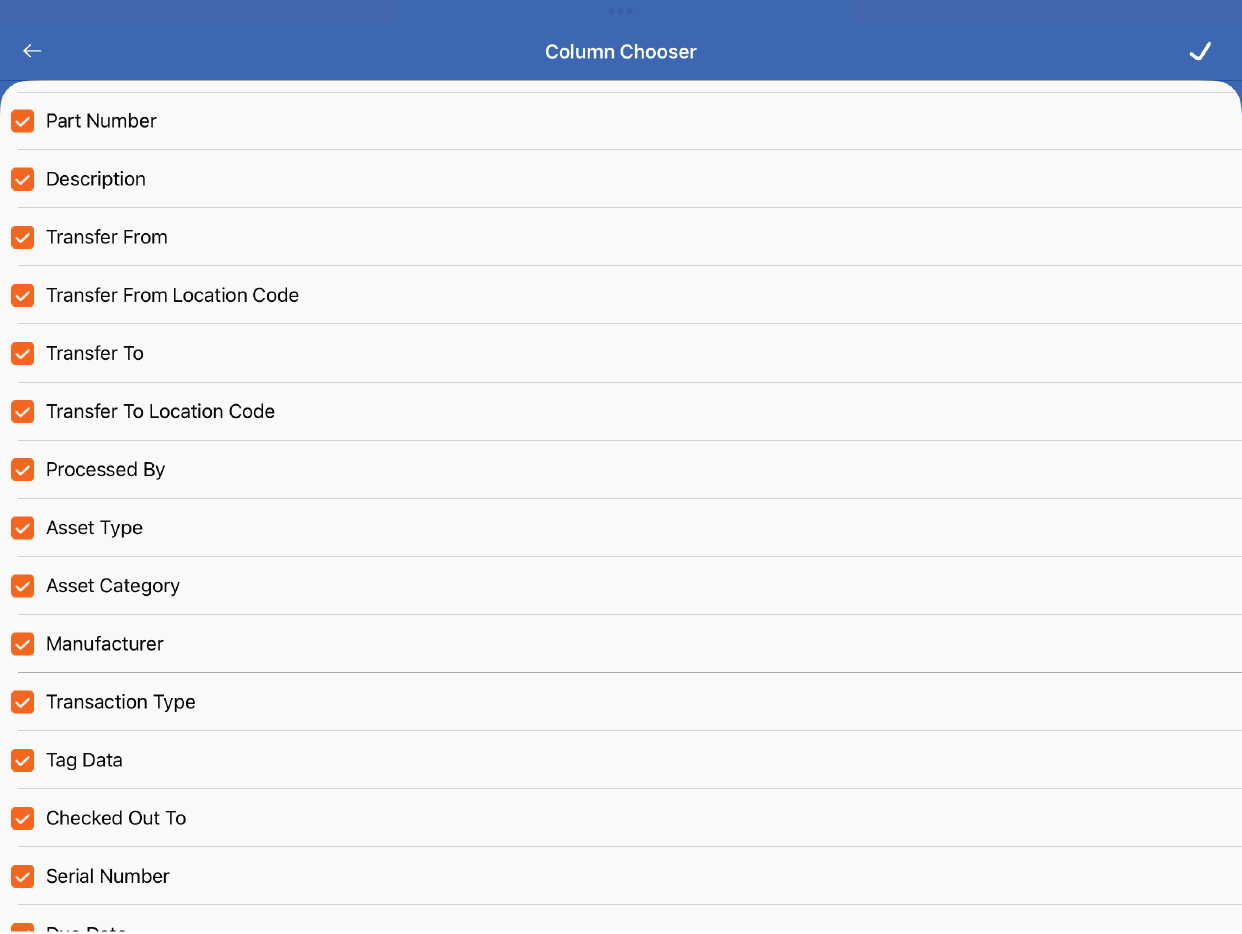
Generating reports is easy – all you need to do is hit the View button. Once you do that, you can click on the Column Chooser icon to pick and choose what columns are best for you. This selection will be saved so the next time you run the report, it will remember what’s important for you.
If you are on the reports view page, you can click the export icon to export the report. If you’re on the filter page, you’ll need to hit the export option. Once you export it, you can use the native sharing options to email, text, save it Files or other options. Please note that the format of the report will default to the option chosen under the Configuration. If you enable the option to allow the user to choose the format of the file, then at this step, they will be able to do that as well.