This article covers the Employee module. Employees can be added to TagMatiks AT Lite for the Checkout / Checkin workflow. When checking out an asset, an employee is selected and is associated with that employee until that asset is checked back in.
No prerequisites are required to start adding Employees.
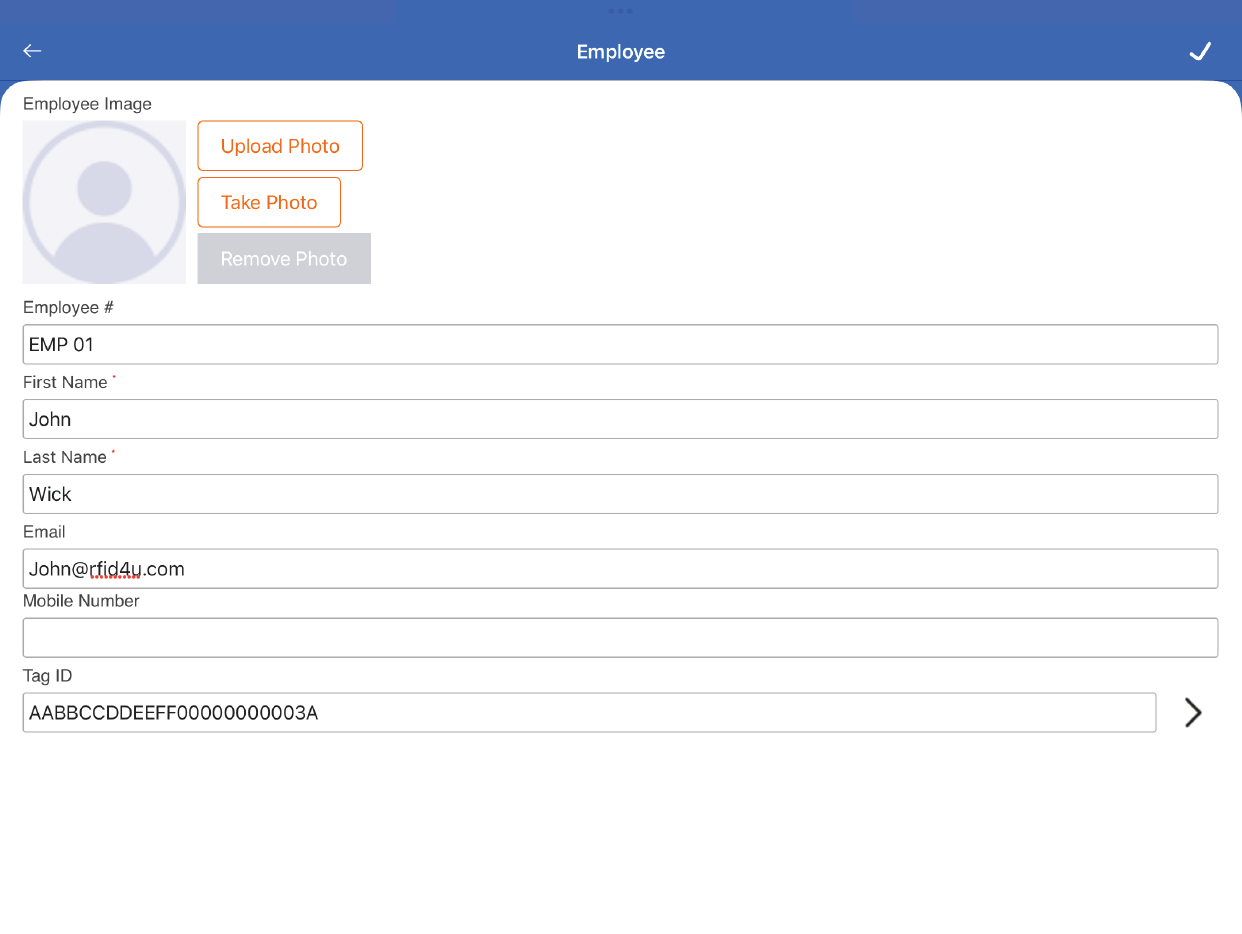
When creating your first Employee, TagMatiks AT Lite will automatically navigate you to the Create Employee page. On the Create Employee page, there are various fields that can be entered regarding the employee, but the key fields are just the First Name and Last Name.
Other fields that can be entered are the Employee #, Email, Mobile Number, Tag ID as well as a photograph.
Click on the checkmark on the top right-hand side of the screen to save the Employee.
On the Employee page, you will be able to see the list of already created employees. To create a new employee, click on the + icon on the top right-hand side of the screen.