To help keep track of assets during their lifecycle, TagMatiks AT Lite includes various out of the box workflows that use RFID to automate the collection of data. These workflows include checkout, check-in and transfers.
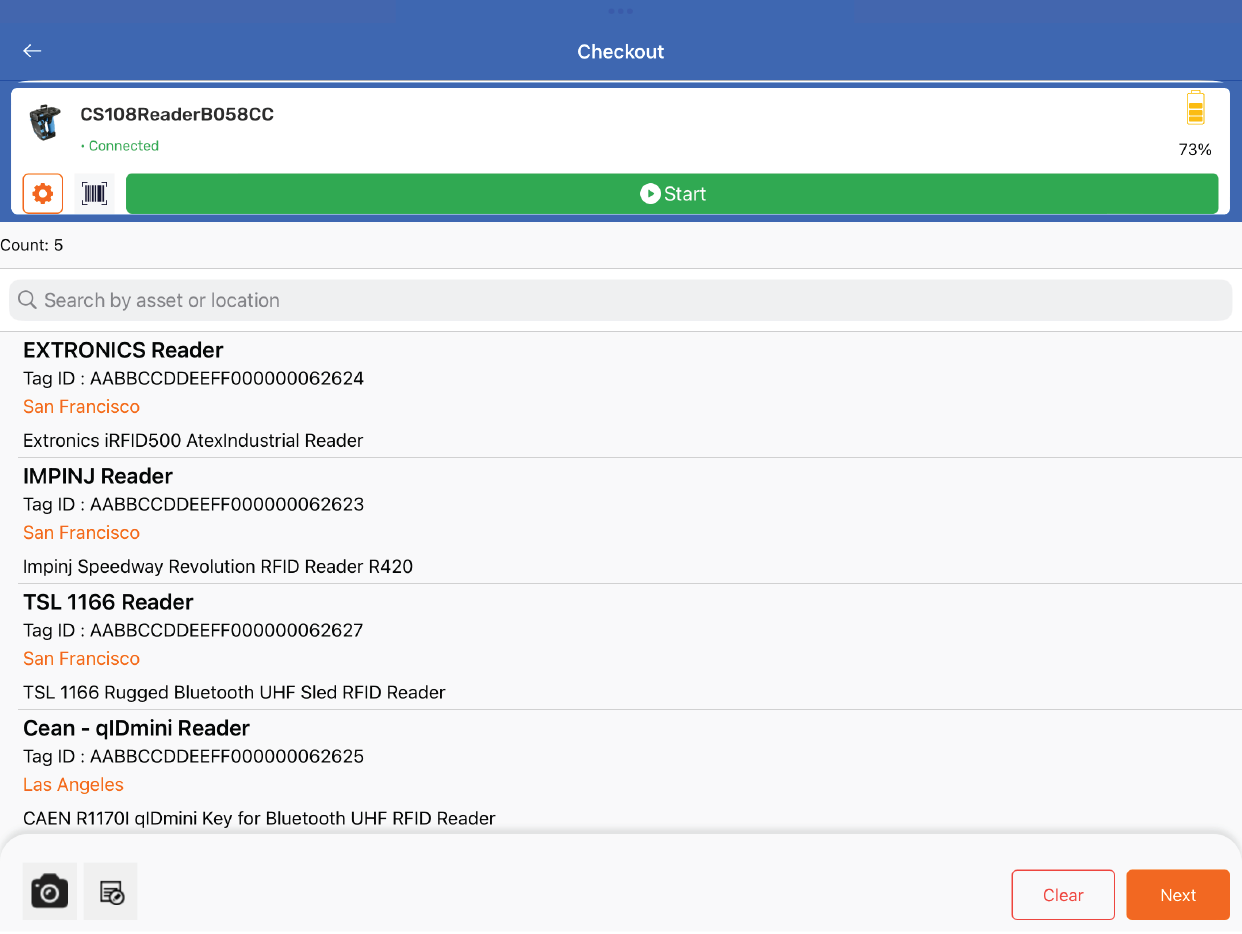
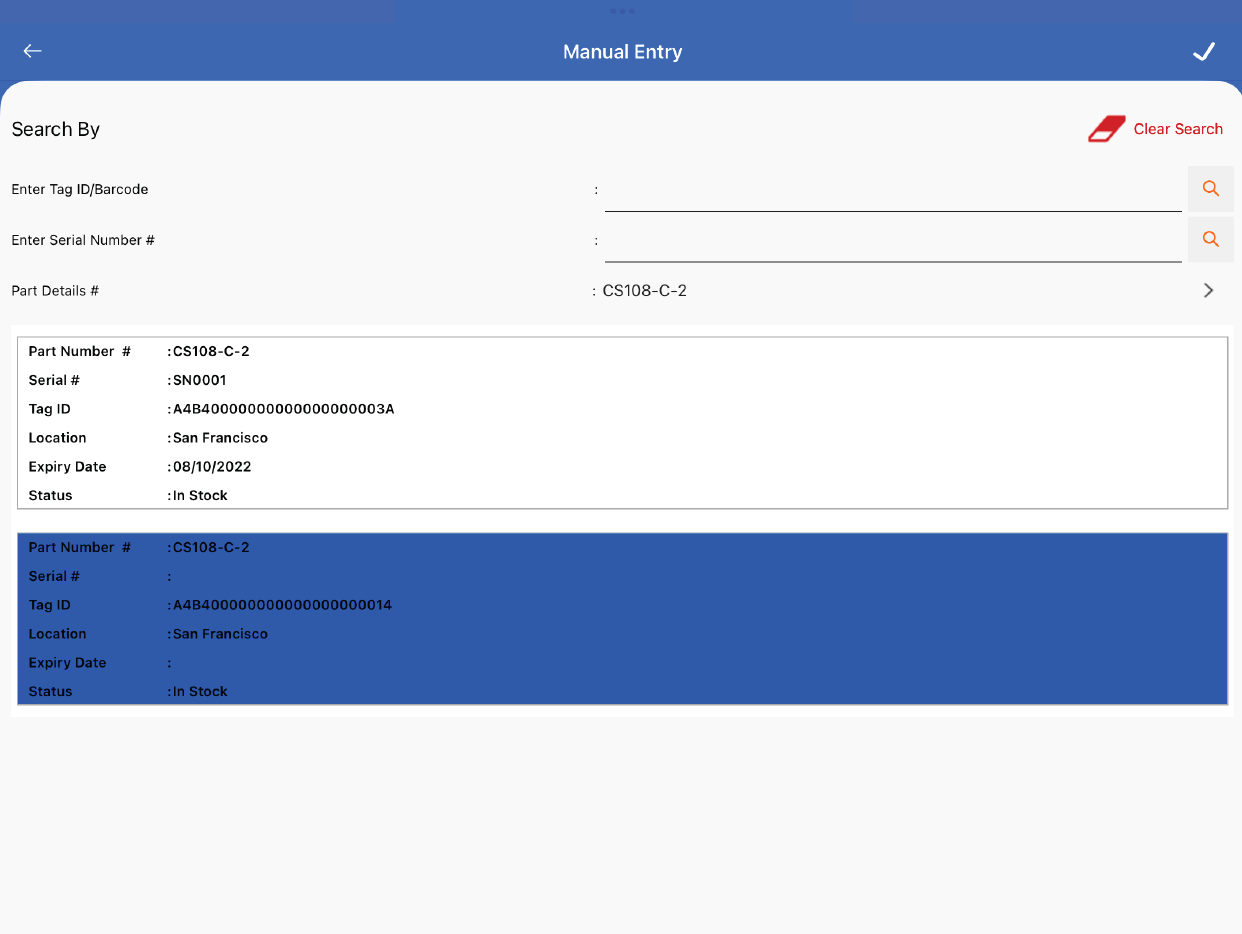
The checkout transaction is designed to help keep track of assets as they are checked out to individuals. To get started, scan one or more assets on the Checkout page. You have a variety of options in terms of how you can scan. Depending on the device you’re using, you can either press the trigger/button on the device or press the Start Scan button. TagMatiks AT Lite does also support barcode scanning or manual entry for assets. You can click the icons across the bottom of the screen to get started on that.
If you accidentally scan an asset that you didn’t mean to, you can Clear out the entire transaction or just swipe right to left on a single item and
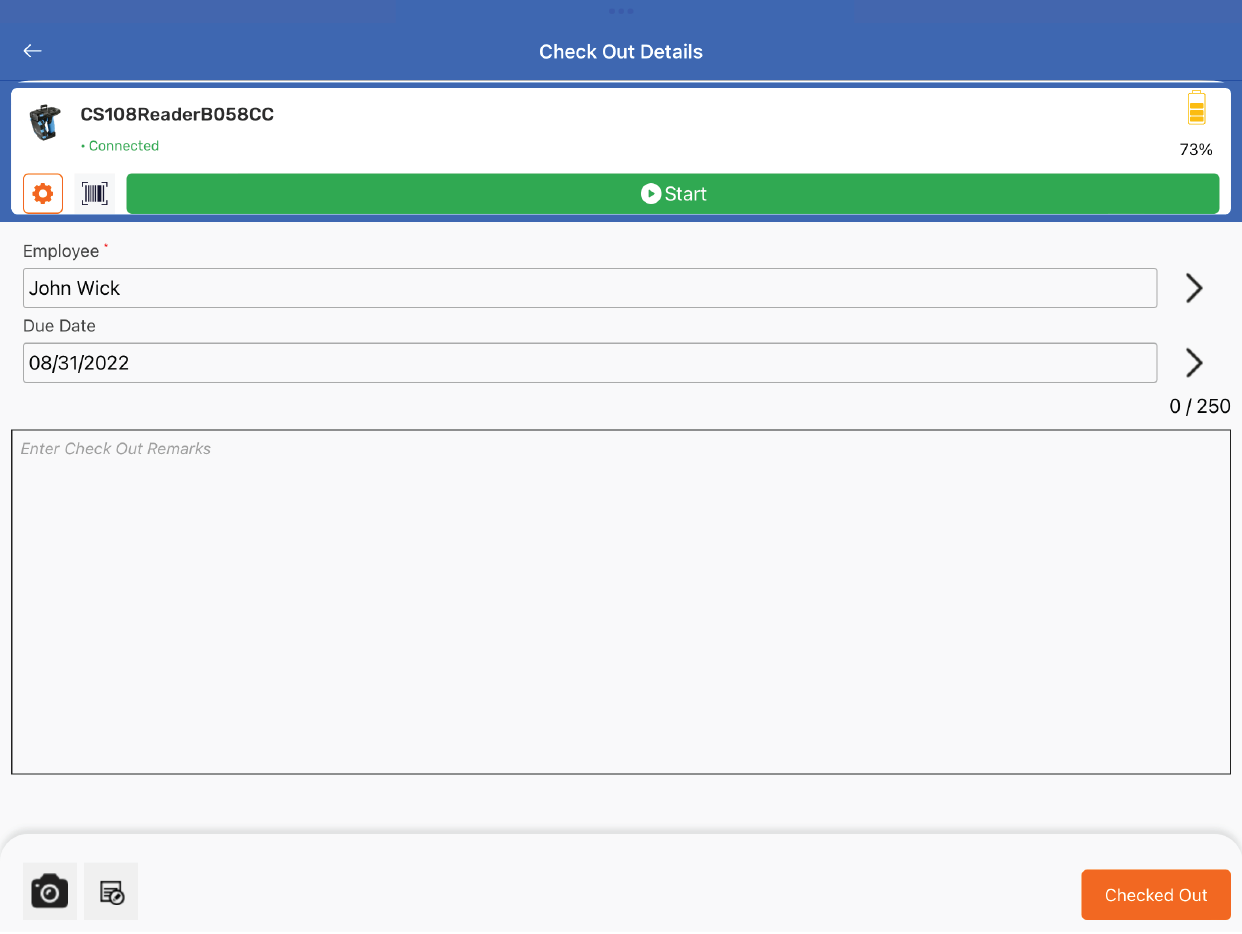
To continue, press Next. You’ll need to choose an Employee, due date (you can choose a date or use the options for no due date) and you can optionally enter notes.
Click Check Out to complete the transaction. This will remove the asset from stock and check out the employee you have selected.
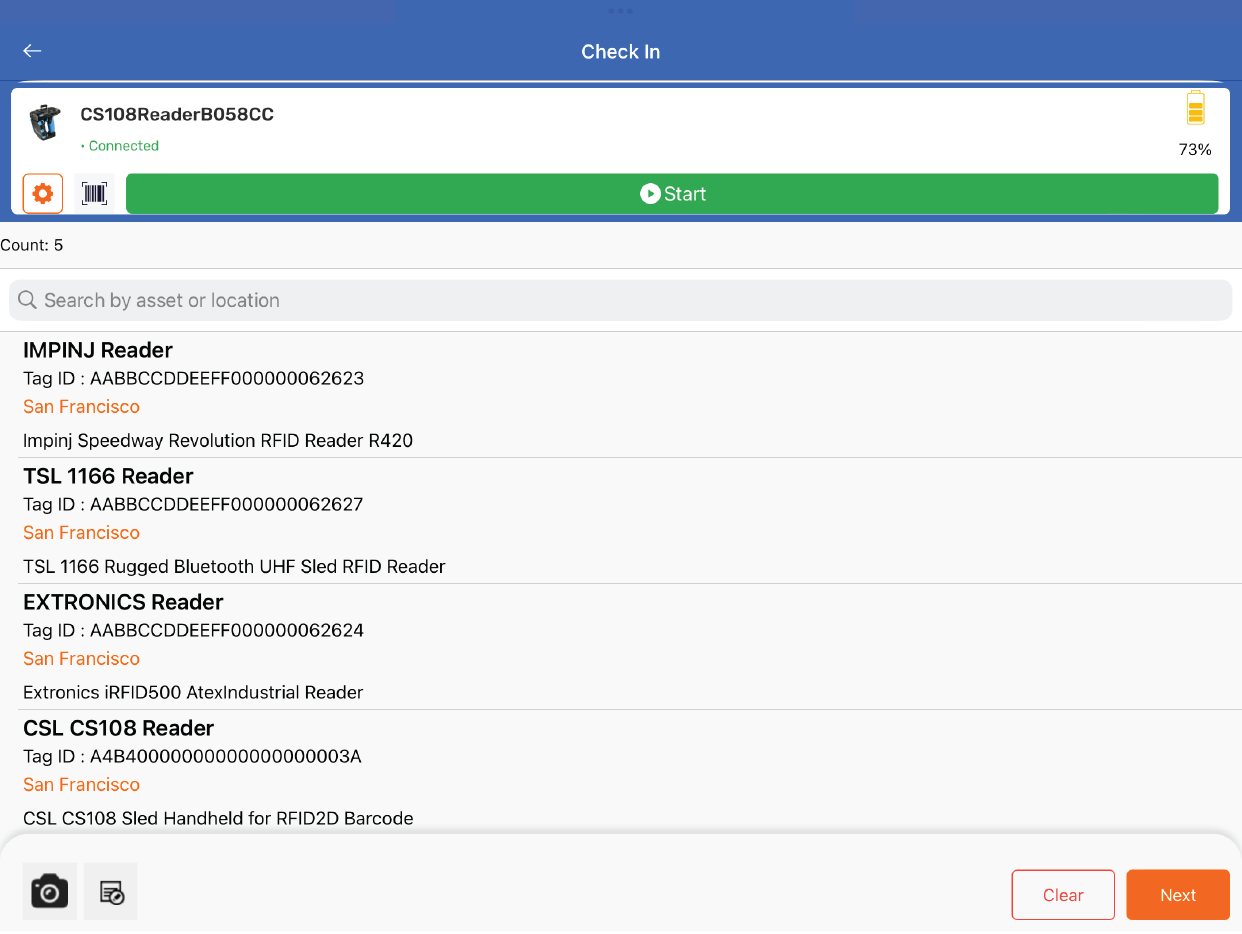
The check-in transaction reverses the checkout transaction and brings assets back into stock. Like the checkout transaction, for the check-in, you can have a variety of options in terms of how you can scan including RFID, barcode or manual entry. Once you have scanned the assets you’d like to check back in, press Next. You can optionally enter any notes, and press Check-In to complete the transaction.
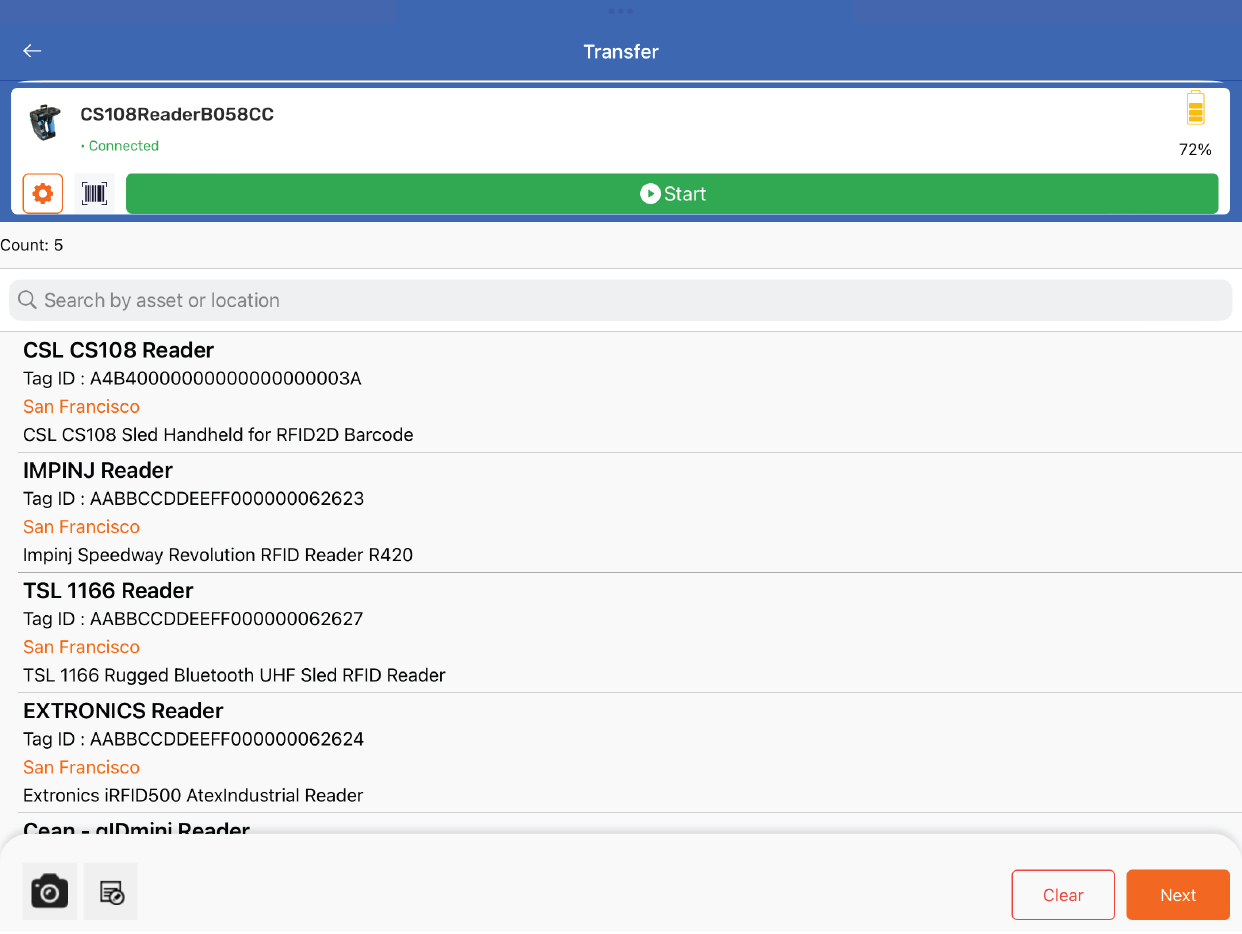
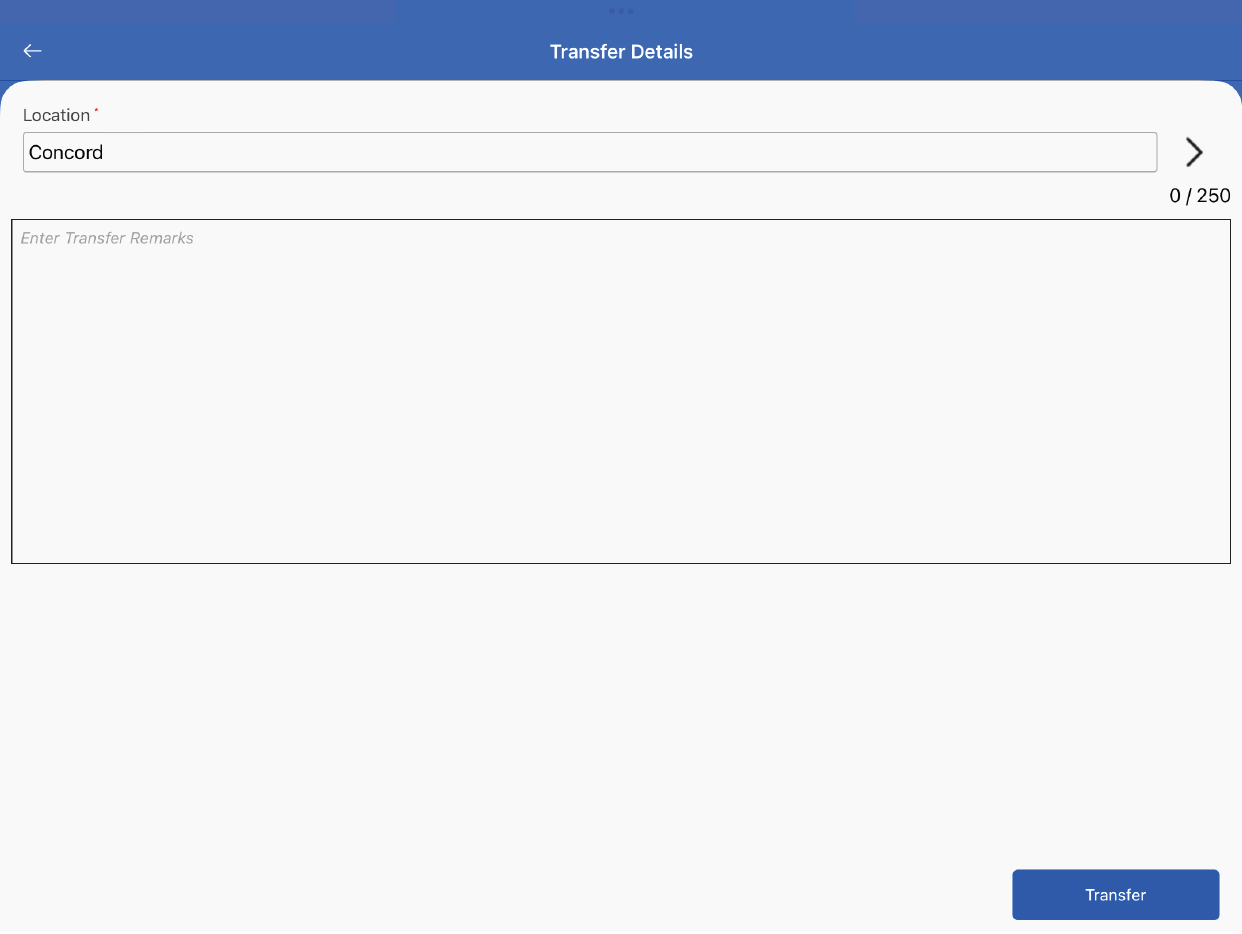
The transfer transaction allows you to transfer assets from one location to another. Scanning assets is just like checkout or check-in transactions. Once you go ahead and scan at least one asset, then click Next to continue. You’ll need to select the new location that the asset is being transferred and then you can optionally enter any notes. To finish up, click the Transfer button to close out the transaction.